
BG CNC Machining Guide
Tapping vs. Reaming: Differences, Uses, and How to Choose
Tapping and reaming both follow drilling, but they solve different problems: tapping creates internal threads, while reaming brings an existing hole to a more precise diameter and finish. Our BG CNC team walks through the comparison table, shop example ranges, and RFQ checklist below so you can choose tapping vs reaming—and brief us before quote.
Quick Answer: Tapping vs. Reaming at a Glance
Tapping cuts internal threads into a correctly prepared hole. Reaming removes a small amount of material from a drilled hole to improve its diameter accuracy, roundness, and surface finish. They are not competing versions of the same operation: the choice depends on whether the drawing calls for a threaded feature or a controlled, finished bore.
Tapping is best for
Creating a specified internal thread for a screw, bolt, or threaded fastener. The tap drill diameter and thread specification must match the design.
Reaming is best for
Finishing a previously drilled hole when a controlled bore size, improved roundness, or smoother surface is needed for a pin, bearing, or fitted component.
At a glance
Compare the processes in the tapping vs. reaming table, then use our RFQ checklist before you send drawings to us for quote.

Rigid CNC tapping creates the internal thread after the tap drill — alignment, chip control, and correct drill size matter more than speed.
What Is Tapping?
Tapping is the operation of cutting internal threads into a pre-drilled hole. A tap has cutting edges shaped to the thread profile; as it advances, it forms the thread that will engage a mating screw or bolt. The hole must be drilled to the correct tap drill size before tapping. If it is too small, the tap removes too much material and may break; if it is too large, the resulting thread has less engagement and may not meet the intended strength or fit.
Tap drill size depends on the thread diameter, pitch, and desired thread engagement. We check the drawing and a reliable tap-drill chart rather than selecting a drill by nominal thread diameter alone. Common thread systems include Unified National Coarse (UNC), Unified National Fine (UNF), and metric threads. Their pitch and profile differ, so the tap, drilled hole, and fastener must all agree with the callout.
How Taps Cut Threads
A tap's chamfer gradually brings its cutting teeth into engagement, while the flutes provide space for the cutting edges and chips. Depending on tap design, chips may travel forward, back along the flutes, or be formed into a thread without being cut. Chip control matters because compacted chips can jam the tool, damage the thread, or break a tap—especially in a blind hole, where chips have limited room to escape.
For a blind hole, the usable threaded depth is not the same as the drilled depth. The tap's lead and the drill-point geometry occupy space at the bottom. We allow for those features in the hole-depth plan and select a tap style that can evacuate chips without packing them into the end of the hole.
Rigid vs. Tapping With a Floating Holder
On a CNC machine with rigid tapping, the spindle rotation and Z-axis movement are synchronized to the thread pitch. That coordination lets the tap advance and reverse in step with the thread. It is a common, efficient approach when the machine, program, tool, and workholding are set up for the operation.
A floating or tension-compression tapping holder provides a small amount of axial movement to accommodate slight differences between spindle feed and the tap's natural advance. It can be useful in manual or less rigid setups, but it does not correct a wrong tap drill size, poor alignment, or unsuitable tapping conditions. In either setup, we confirm the thread callout, depth, and chip strategy before running the part.
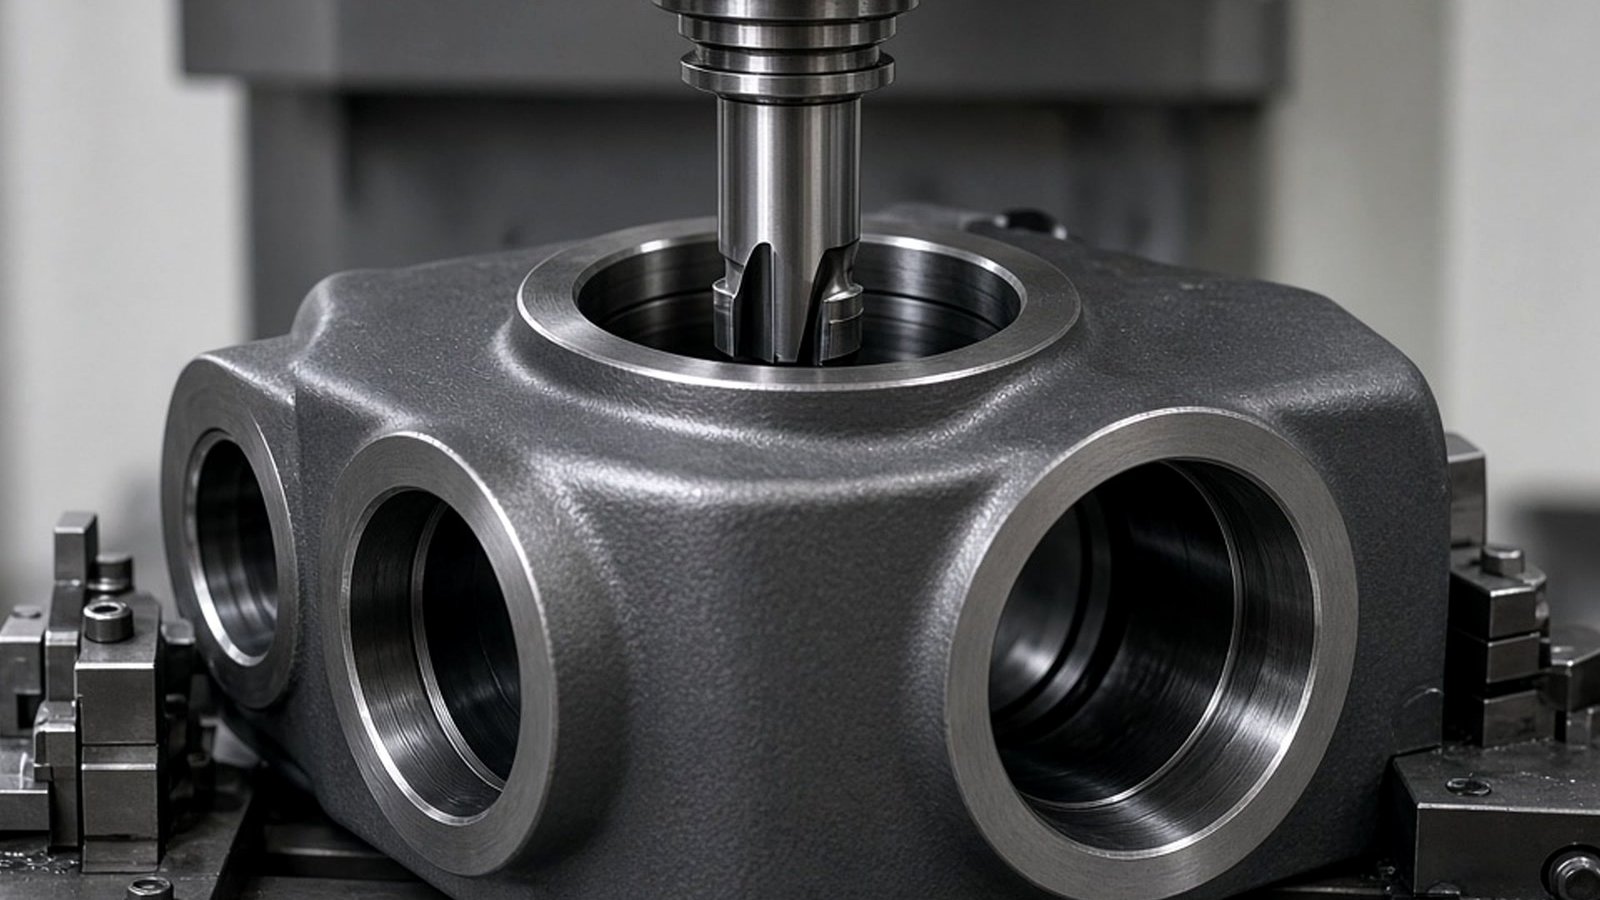
Reaming (and related hole-finishing) brings a drilled bore to size and surface finish for H7-class fits — it does not cut threads.
What Is Reaming?
Reaming is a finishing operation that enlarges and smooths an existing hole to a more controlled diameter. A reamer is not normally used to create a hole from solid material; the hole is drilled first and left slightly undersize, then the reamer removes a small, planned amount of stock. That finishing pass can correct minor drill wander and improve the hole's roundness and consistency.
The stock allowance is often a few thousandths of an inch or a few tenths of a millimeter, but the right amount depends on the reamer, material, hole diameter, and process. Too little stock can leave the reamer rubbing instead of cutting. Too much can overload it and lead to chatter, poor finish, or an inaccurate bore. We use the tool manufacturer's guidance and validate the allowance for the specific job.
How Reamers Improve Hole Quality
A reamer's multiple cutting edges remove a light layer of material from the predrilled hole. With adequate stock, a sharp tool, suitable feed and speed, and a rigid setup, the operation can produce a more consistent diameter and a smoother bore than drilling alone. It can also improve roundness and reduce some of the variation left by a drill.
Reaming is a finishing operation, not a cure-all for a badly misplaced or crooked hole. It follows the existing hole path; significant position or straightness errors may need a different strategy, such as boring or a revised setup. For critical features, we plan how the hole is located and supported as well as how its final diameter is achieved.
Types of Taps Used
Tap selection depends on hole type, material, depth, chip direction, and whether the tap cuts or forms the thread. The names below describe common tap styles; actual performance also depends on the geometry and coating specified by the toolmaker.
-
1
Taper tap
Has a long chamfer that engages gradually, making it useful for starting threads and for through holes where the longer lead can pass through the workpiece.
-
2
Plug tap
An intermediate-chamfer style used for general-purpose threading. It is a common choice when the hole has enough depth for its lead-in.
-
3
Bottoming tap
Has a short chamfer and can extend threads closer to the bottom of a blind hole, usually after the thread has been started with a more gradual tap when needed.
-
4
Spiral point, or gun, tap
Directs chips forward, making it well suited to many through-hole applications where chips can exit at the far side.
-
5
Spiral flute tap
Carries chips back out of the hole, which can make it useful for blind holes and materials that produce stringy or sticky chips.
-
6
Forming, or roll, tap
Forms a thread by displacing material rather than cutting chips. It is suited to ductile materials such as aluminum when the material, hole size, and process are appropriate.
When someone asks, “What are the three types of tapping?”, the usual basic answer refers to the three common chamfer styles: taper, plug, and bottoming. Spiral-point, spiral-flute, and forming taps are additional tool designs chosen for chip control, hole geometry, and material.
Types of Reamers Used
Reamers are available for hand finishing, machine production, adjustable sizing, and specific hole shapes. The right choice depends on diameter, tolerance, access, quantity, and the way the part will be located and held.
Hand reamer
Turned manually for controlled finishing, often with a long lead to help it enter the hole. Fixed and adjustable versions are available for different requirements.
Machine reamer
Used in a drill press, machining center, or other machine setup. It requires suitable alignment, spindle control, and workholding to produce a consistent result.
Chucking reamer
A common production tool with a straight or spiral flute, selected according to material, chip behavior, and the machine setup.
Adjustable reamer
Allows minor diameter adjustment to compensate for wear or achieve a particular size within the tool's design range. It is not a substitute for a controlled measurement process.
Expansion and shell reamers
Can be economical for larger diameters or repeat production, depending on the application and tooling arrangement.
Taper reamer
Finishes a tapered hole, such as a hole intended to receive a tapered pin.
Tapping vs. Reaming: Key Differences
The key difference is the feature each operation produces. Tapping creates a helical internal thread form; reaming finishes a cylindrical or tapered bore. Both typically follow drilling, but a hole may be reamed before tapping if the specified thread's tap-drill size and process call for it. Reaming does not create threads.
Tapping vs. Reaming: Comparison Table
We use this table as guidance from our shop, not a substitute for the drawing, toolmaker recommendations, or a process trial on a critical feature. Actual capability varies with the material, geometry, machine, tooling, and inspection method.
| Factor | Tapping | Reaming |
|---|---|---|
| Purpose | Cut or form internal threads | Size and finish an existing hole |
| Output | Internal thread profile for a mating fastener | Smooth cylindrical or tapered bore |
| Typical tolerance | Thread class, such as 2B or 6H, governs fit | Can target a bore fit such as H7, when specified and controlled |
| Surface finish | Thread flank and root quality matter | Improves the bore's surface finish compared with drilling alone |
| Tool type | Cutting tap or forming tap | Hand, machine, chucking, adjustable, or specialty reamer |
| Speed and feed sensitivity | Sensitive to pitch synchronization, chip control, and lubrication | Sensitive to stock allowance, feed, speed, alignment, and chip clearance |
| Machine requirements | Rigid tapping or a suitable tapping holder; accurate alignment | Rigid, aligned setup with controlled spindle and feed |
| Cost per hole | Often a short operation, but tool wear and breakage can add cost | Adds a finishing operation and tool, potentially offset by fit and quality needs |
| Common materials | Metals and selected plastics, with tool choice matched to the material | Metals and selected plastics, with allowance and tooling matched to the material |
How Tapping and Reaming Work in Practice
Both operations normally begin with a located hole. The sequence then branches according to the required feature:
-
1
Locate and spot the hole
We locate to the part datum and use a suitable spotting strategy so drilling stays accurate and the drill is less likely to walk.
-
2
Drill for the intended operation
For tapping, drill to the appropriate tap drill size. For reaming, drill undersize by the allowance recommended for that tool, material, and diameter.
-
3
Tap or ream with a matched setup
Run the appropriate toolpath, keep the tool aligned, and manage lubrication and chips for the material and hole geometry.
-
4
Inspect the feature that matters
Check thread fit and depth for a tapped hole; measure diameter and verify fit or finish requirements for a reamed bore.
Shop-floor check
Tap drill sizes and reaming allowances vary by thread, material, tool geometry, and target fit. We check current manufacturer charts and the part drawing before we program or release a production process.
Precision, Tolerances, and Surface Finish
A reamed hole is generally more controllable in diameter and finish than a hole produced by drilling alone, provided the preceding hole, allowance, tool, and setup are appropriate. Reamed bores are used when components such as bearings or dowel pins need a defined fit, and when a press-fit feature depends on a controlled hole size. The specific tolerance must come from the drawing and be verified with an appropriate inspection method.
Tapping precision is described through thread specifications and fit classes rather than a smooth-bore diameter tolerance alone. For example, 2B is a common Unified internal thread class and 6H is a common metric internal thread tolerance position/class. The correct class is set by the drawing and thread system. Tap quality, alignment, hole size, material, and process control all affect whether the finished thread meets that requirement.
Surface finish also differs by feature. A reamer can leave a smoother bore than drilling, while a tapped hole is judged by the thread form and fit of the mating fastener. If a design calls for a tight bore fit and a threaded feature, these may need separate operations in separate locations—or a carefully designed sequence when they share a feature. Reaming a hole does not improve or create its threads.
Shop example ranges (general guidance)
These are typical planning ranges we use in quoting discussions with customers—not a substitute for your drawing, toolmaker charts, or a process trial with us:
Reaming stock allowance: often about 0.1–0.3 mm (roughly 0.004–0.012 in) on small-to-medium holes; larger diameters may need more. Too little → rub; too much → chatter.
Reamed fit examples: H7 is a common hole basis for many press/locating fits; confirm the shaft basis and inspection method on the drawing.
Thread class: 2B (Unified) and 6H (metric) are frequent internal defaults when the drawing does not call a special fit.
Thread engagement: many joints target roughly 60–75% of full thread height via correct tap-drill selection; deeper is not always stronger if the hole or tap breaks.
Effective thread depth (blind holes): usable full threads are less than drilled depth because of tap lead and drill point—plan extra depth or call out minimum full-thread length.
Strength Considerations
For a tapped joint, thread engagement influences how much load the internal threads can carry. A thread engagement percentage around 60–75% is often used as a practical design reference, but the required engagement depends on material strength, fastener size, load, and application. We do not treat that range as a guarantee of joint strength; the design and applicable engineering requirements determine the actual specification.
Reaming can help preserve a hole's intended fit and geometry for a load-bearing pin, bearing, or other fitted component. The fit, wall thickness, material, and load path still matter. A hole that is oversized, out of position, or damaged during finishing can compromise the assembly even if it looks smooth.
Failure risk
A broken tap can damage a part and make the hole difficult to recover. The resulting scrap, rework, or removal effort can outweigh the short cycle-time benefit of an aggressive tapping strategy. Correct hole size, tool selection, chip evacuation, and alignment all help reduce that risk.
Cost and Cycle Time Considerations
Tapping may be a relatively quick way to add a threaded feature, but the true cost per acceptable hole includes the tap, setup, cycle time, inspection, and tool replacement. Taps can wear or break, particularly when the hole size, material, lubrication, or chip flow is not controlled. On a difficult blind hole or a material that produces challenging chips, the risk and tool life deserve attention in process planning.
Reaming adds a finishing operation and may require a dedicated tool, so it can increase cycle time compared with drilling alone. That extra step is justified when the drawing requires a bore quality that drilling cannot reliably deliver. In some CNC jobs, drilling and reaming can be combined within one program and setup, reducing handling even though the reaming pass remains an additional tool operation.
For prototypes and low-volume parts, we consider whether the specified tolerance truly supports the function or whether a simpler process can meet the need. At higher volumes, tool life, cycle consistency, inspection frequency, and scrap risk can matter more than the nominal time for one operation. A process decision should be based on total cost and quality requirements, not operation time alone.
Material Suitability
Material changes the way chips form, how much heat builds up, and how the tool wears. Our BG CNC team selects tap and reamer geometry, coating, cutting conditions, and fluid for the specific alloy or nonmetallic material—we do not transfer settings blindly from one job to another.
Steel and stainless steel
Sulfurized or cobalt taps may be appropriate depending on the grade and operation. Stainless steel can work-harden, so a sharp tool, stable feed, suitable lubrication, and an adequately rigid setup are important. Reaming also calls for a sharp, rigid tool and a planned allowance.
Aluminum
In suitable aluminum applications we often use forming taps or sharp spiral-flute taps. For reaming, we run appropriate lubrication and chip management to reduce built-up edge and protect the bore finish.
Cast iron
We often dry-machine some cast-iron jobs because the material produces short chips, but we still match tool choice and process conditions to the casting and quality target. Both tapping and reaming are possible with suitable tooling.
Plastics and composites
These materials can be sensitive to heat, deformation, fiber pullout, and chip behavior. Specialized tooling and lower speeds may be required, with conditions adapted to the particular material and laminate or polymer construction.
Titanium and high-temperature alloys
On these materials we generally run slow cutting conditions, a rigid setup, and suitable quality coolant. We plan tool engagement and chip evacuation carefully to limit heat and tool damage.
Common Applications by Industry
On real parts we machine, tapping and reaming often appear side by side because an assembly may need both fastener retention and precise locating. We let the functional requirement of each feature drive its process and inspection plan.
Automotive
Tapped holes secure threaded fasteners in components and assemblies; reamed bores may be used for bearing fits or other accurately located interfaces.
Aerospace
Tight-tolerance reamed holes may support fasteners and structural joints, while tapped features can be used for threaded interfaces or inserts as defined by the design.
Medical devices
Small, precise holes and miniature threads can require careful process selection, suitable inspection, and clear drawing requirements.
Electronics and enclosures
Tapped mounting points hold covers or components; reamed dowel holes can support repeatable location during assembly.
General fabrication
Threaded holes accept bolts and screws, while reamed holes are useful when pins or other fitted elements need a controlled bore.
Can You Drill and Tap in One Operation?
Not as a true simultaneous operation with a standard drill and tap. In a CNC workflow, the machine typically drills the tap hole and then taps it sequentially in the same program, often using a tapping cycle. This can avoid moving the part between separate setups, but drilling and thread creation remain distinct operations.
Combination drill-tap tools and other step tools can perform more than one action in a tool sequence, but they have application limits. Hole depth, material, chip evacuation, tool rigidity, and the required thread quality all affect whether a combination tool is suitable. The wrong combination can increase the risk of chip clogging, breakage, or misalignment.
Practical answer
For most CNC parts, drill to the specified tap drill size and then tap in the same program with the appropriate cycle and chip strategy. Confirm hole depth, thread depth, and tool clearance before production.
Can You Ream With a Hand Drill?
For production or fit-critical holes, our BG CNC team treats a hand drill as the wrong tool: it lacks the rigidity, alignment, and speed control that reaming needs. A hand reamer turned by hand can finish small one-off holes; we quote CNC, a drill press, or a machining center when diameter, roundness, or repeatability matters on your package.
How to Choose: Tapping or Reaming?
Start with the function on the drawing. If a fastener needs to engage internal threads, tap the hole to the specified thread. If a pin, bearing, or fitted component needs a controlled bore, drill undersize and ream to the required diameter. If the part needs both functions, specify and plan them independently rather than assuming one operation will achieve both.
Next, review the tolerance and surface finish, material, hole depth, production quantity, and available machine setup. A blind threaded hole raises different chip-control questions from a through hole. A precision bore requires enough stock for the reamer and a stable way to maintain alignment. For low- to medium-volume custom parts, these process details can affect both risk and total cost.
Decision checklist
Define the feature: internal thread, precise bore, or both?
Confirm the specification: thread standard and class, or bore diameter, tolerance, and fit?
- We check the material and hole type first: chip form, blind versus through geometry, and lubrication.
Assess the process: match tooling, alignment, machine capability, and inspection to the tolerance.
Balance cost and risk: include cycle time, tool life, setup, inspection, and potential scrap—not only the tool price.
Best Hole-Making Method for Tight Tolerances
For a tight bore-diameter requirement, reaming—or boring for larger holes or where position and geometry need greater control—typically offers better diameter control than drilling alone. The appropriate method depends on the tolerance, diameter, material, geometry, and setup. A reamer follows the existing hole, so it does not automatically correct a significant position error.
Threads cannot be “reamed” into a thread. If a thread needs tighter control or the thread is large, thread milling may be considered, depending on the part and machine. The drawing should clearly define the thread standard, class, and inspection expectations so the chosen process can be evaluated correctly.
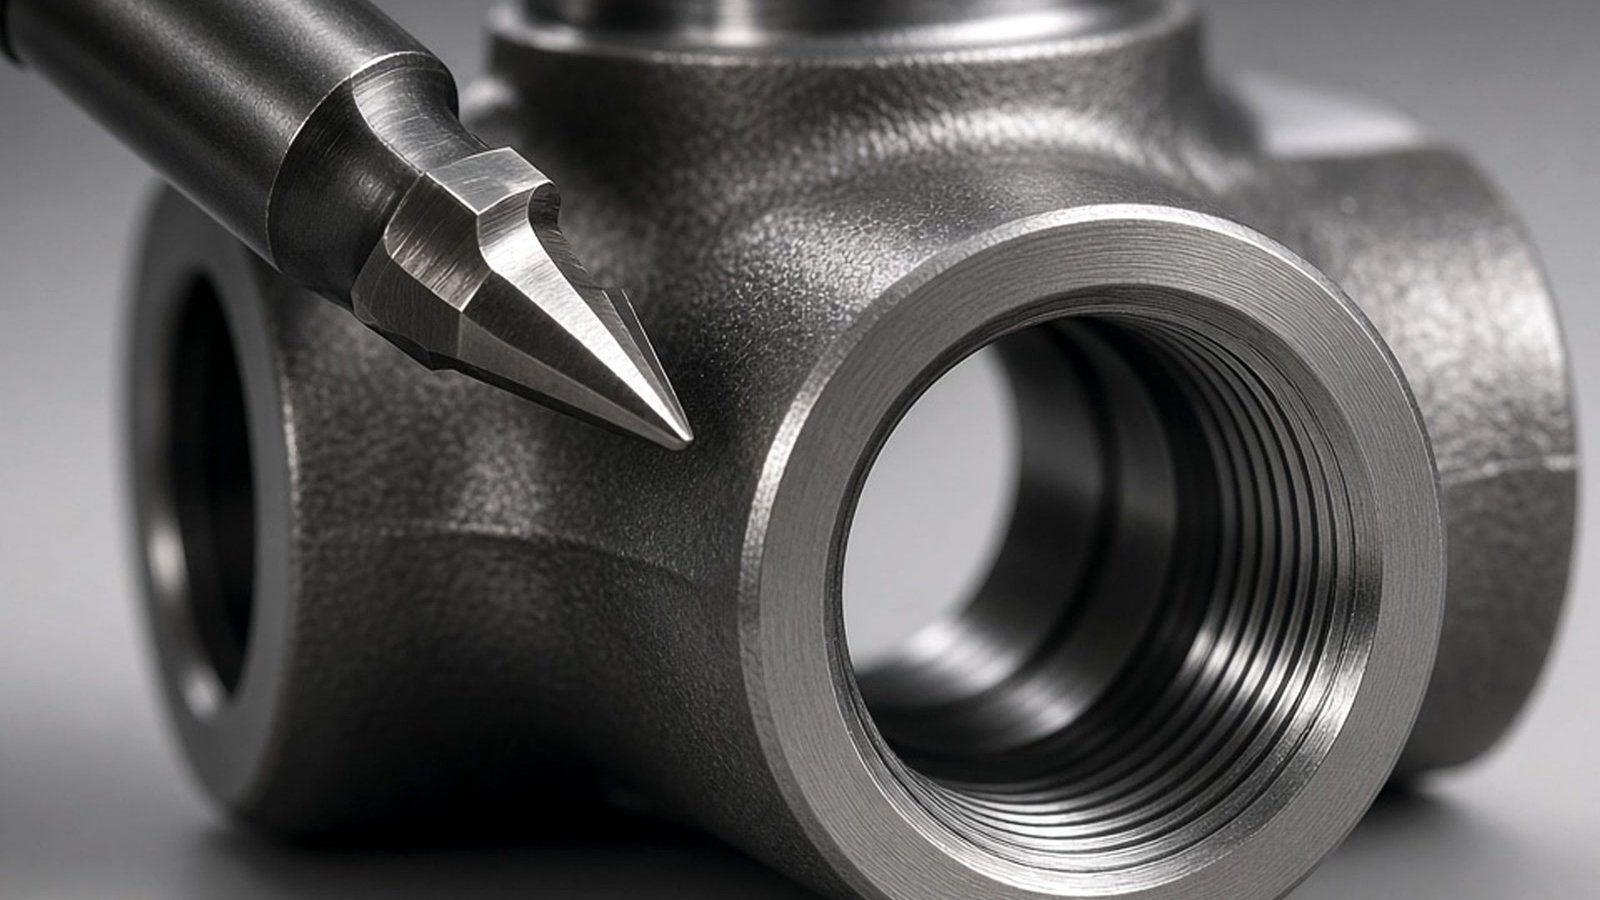
Call out thread class, effective depth, reamed fit, and gauging on the RFQ so the shop quotes the process you actually need.
RFQ Checklist for Threaded & Reamed Holes
Before you send us a drawing for tapping or reaming review, attach or note the following. Clear callouts help our BG CNC team reduce broken taps, wrong fits, and requotes:
- 1.
Thread class / standard: e.g., M6×1-6H, 1/4-20 UNC-2B—not just “tap M6.”
- 2.
Effective / full thread depth and whether the hole is blind or through; call out minimum full threads.
- 3.
Hole fit for reamed bores: diameter + tolerance (e.g., Ø8 H7) and mating shaft/pin basis.
- 4.
Gauging / inspection: go/no-go thread gauges, plug gauges, CMM—what must be certified on FAI?
- 5.
Material & heat treat / coating sequence (tap before or after hard coat?).
- 6.
Quantity & criticality: which holes are safety-critical vs clearance.
Blind holes in hard materials raise broken-tap risk. Rigid tapping, correct chip strategy, and gauge capability at the shop matter as much as unit price—especially when a seized tap scrapes an expensive blank.
Common Mistakes and Troubleshooting
Many problems attributed to a tap or reamer begin earlier—with the hole, setup, or process assumptions. When a feature fails inspection or a tool breaks, our BG CNC team reviews the complete operation rather than changing the tool first.
- 1
Wrong tap drill size
A hole that is too small raises cutting load and breakage risk; one that is too large can leave weak or oversized threads. Verify the thread callout and tap-drill chart.
- 2
Incorrect reaming allowance
Too little stock can cause rubbing; too much can produce chatter, poor finish, or excess tool load. Follow toolmaker guidance for the material and diameter.
- 3
Insufficient coolant or lubrication
Inadequate lubrication can increase galling, heat, wear, and poor surface quality. Select fluid and delivery for the material and operation.
- 4
Forcing the tool
Excessive force does not compensate for a wrong feed, blocked chips, or misalignment. Stop and investigate rising torque, abnormal noise, or poor finish.
- 5
Poor alignment or excessive runout
Runout and misalignment can cause uneven cutting, oversize holes, damaged threads, and premature tool failure. Check the holder, spindle condition, workholding, and hole location.
- 6
Dull or worn tooling
Worn edges can raise cutting forces and degrade size or finish. Monitor tool condition and replace or recondition tools before quality becomes inconsistent.
Frequently Asked Questions
What is the difference between tapping and reaming?
Tapping creates internal threads; reaming finishes an existing hole to a more controlled diameter and surface. See the comparison table for a side-by-side guide.
What are the three types of tapping?
The three common tap chamfer types are taper, plug, and bottoming. They differ in lead length and how close to the bottom of a hole they can form threads.
Can you ream with a hand drill?
We generally do not recommend a power hand drill for accuracy—it rarely gives enough rigidity or alignment control. For small one-off jobs a hand reamer turned manually is often preferable; see our hand-drill note above.
Can you drill and tap at the same time?
Not truly simultaneously with standard separate tools. CNC machines commonly drill and then tap sequentially in one program; combination tools have specific limits and risks.
Can you tap a reamed hole?
Yes, if the hole diameter is correct for the thread. A reamed hole that is too large for the intended tap can produce inadequate thread engagement, so confirm the required tap drill size before choosing the sequence.
Is reaming more accurate than drilling?
For diameter and surface finish, reaming generally improves on drilling alone when the hole is properly prepared and the operation is controlled. It follows the existing hole, so it is not a universal correction for position or straightness errors.
Do taps and reamers need coolant?
Often yes—but we decide from the material, tool, and operation. Suitable coolant or lubrication helps us manage heat, chips, galling, and tool wear; some materials and processes we run dry or with a specialized approach.
Conclusion
Tapping creates internal threads; reaming finishes an existing hole to a more controlled size and surface. The simplest decision rule is to start with the feature's function, then match the tool and process to the material, tolerance, hole geometry, production volume, and inspection requirement. Getting the tap drill size or reaming allowance right—and maintaining alignment and chip control—helps protect both part quality and cycle time.
At BG CNC, we review custom parts in context: material, geometry, tolerance, quantity, lead time, and target cost all influence the manufacturing route. Our engineering team coordinates CNC machining and other suitable production resources through our network of proven manufacturing partners in Dongguan and the Pearl River Delta. If a drawing includes critical threads, fitted bores, or several processes, our BG CNC team can help assess the requirements and flag practical questions before production.
Share your drawing package with our BG CNC team for a tapping/reaming process review and quote—not a generic encyclopedia answer.
Discuss your part with our BG CNC teamTalk with our BG CNC team about your machining requirements
Send us the drawing (STEP + PDF), material, quantity, thread class or reamed fit, effective thread depth, and gauging expectations. We will review tapping/reaming risk—including blind-hole tap breakage—and quote a practical CNC route through our Dongguan partner network.